
How to make bathroom hydraulics: step by step with special tips for your work!
When starting a work, many elements need your attention so that every detail comes out as expected, avoiding mistakes and future problems. One of the most delicate areas is the bathroom plumbing. Therefore, in this article we present a guide on how to make bathroom hydraulics for you to apply in your construction.
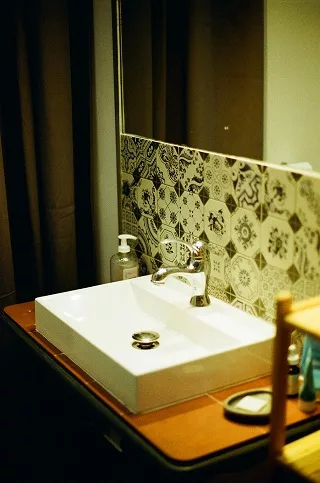
How to Make Bathroom Hydraulics: What You Need to Know!
Water tank:
It is important for the whole house plumbing and not just in the process of making bathroom plumbing.
Within this stage, some steps are important, including:
install the trestle kit for connecting the site water meter to the water meter of the company that distributes the resource; accommodate the water tank at the highest point of the house; connect the easel and the water tank; use the piping system that will take the water from the hydrometer to the water tank; at the place where the water will come out of the water tank, install the float and the valve; also include a cleaning exit and a thief; one outlet should be reserved for a 1 and 1/2 inch pipe for the toilet, and another for a 3/4″ pipe for the rest of the house.
You can choose to use two or more water outlet connections, depending on your bathroom plumbing project. Creating an outlet for the shower and bathroom sink, and another for the attached basin box, for example.
Registration and Piping
At this stage it is time to adapt the pipe connected to the water tank to the rest of the house:
bathroom; kitchen and laundry; tanks; outdoor area and more.
Insert a record in the output of the pipes.
Some tips on how to make bathroom hydraulics can be useful:
for toilet with flush tank you can use a uma inch pipe that comes out of the water tank; for vessel with pressure valve, prefer the l and ½ inch tube,
The rest of the hydraulic system can be 3/4″ piping or you can reduce it to 1/2″ on items such as:
bathroom sink; washbasin; bidet.
Your shower may require a reduction to ensure pressure and function as a shower and shower head.
Sewer pipes and Drains:
We’ve already covered the subject of piping in the topic above, but when we talk about how to make bathroom hydraulics, we have to consider sewer piping and types of bathroom drains.
All pipes, especially those for the floor, must be installed before finishing, that is, before installing floors, porcelain tiles and bathroom linings. For Plumbing Tips
Remember to connect these tubes to siphon drains that prevent the proliferation of bad odors from the sewage that comes out of this room in the house.
In this topic some information is also needed such as:
place a layer of at least 8 cm of thin concrete on the floor to form the subfloor; the toilet must use 100 mm tubes; remember to create the correct trim to drain the water.
For the installation of hydraulic items that make up a bathroom, such as sinks and the like, it is necessary to follow some height rules in relation to the floor (where part of the pipe is). Some of these rules are:
30 cm – Toilet 50 cm – Bath 60 cm – Washbasin 15 cm – Bidet 210 to 239 cm – Shower 120 cm – Common flush
Note: the heights are considering the finished floor, so when installing before finishing the floor, add 5 cm to the values presented above.
Wall pipes need to be especially careful to use connections that prevent infiltration.
In the video below you have access to the presentation of the completion of a project on how to make bathroom hydraulics, it’s worth checking it out:
Hydraulic plant:
Just like the general plan of your house, also known as the architectural plan, the hydraulic plan is a project that allows the analysis of how the bathroom’s hydraulic installations will look.
It is essential to ensure that the positioning of each item is in accordance with what you as the “owner of this bathroom” envisioned. In addition, it is a guide that records the communication between professionals who are helping the work, such as engineers, architects, bricklayers and plumbers.
Materials used in the construction of bathroom hydraulics
As you saw above, many materials will be used during the steps of how to make bathroom hydraulics, including:
kits with ready-made easels; resistance of the float pipe with register; metal or PVC pipe; faucets; bathroom sinks; drains and grates; toilets and seats; showers and showers and more.
In addition to the Hydraulics items you will also need to add to your shopping list: For Plumbing Services Click here
cement; floors; mortar; coatings; paints etc.
Here you will find everything you need within our complete Bathroom or Hydraulic department.
Now that you know how to make bathroom hydraulics, make your list of items and order everything here online store. Without leaving home, you can make your budget and still have access to super special conditions with the credit card. Receive everything at the address you want!
Are you renovating? Discover our website with the best offers for your work!