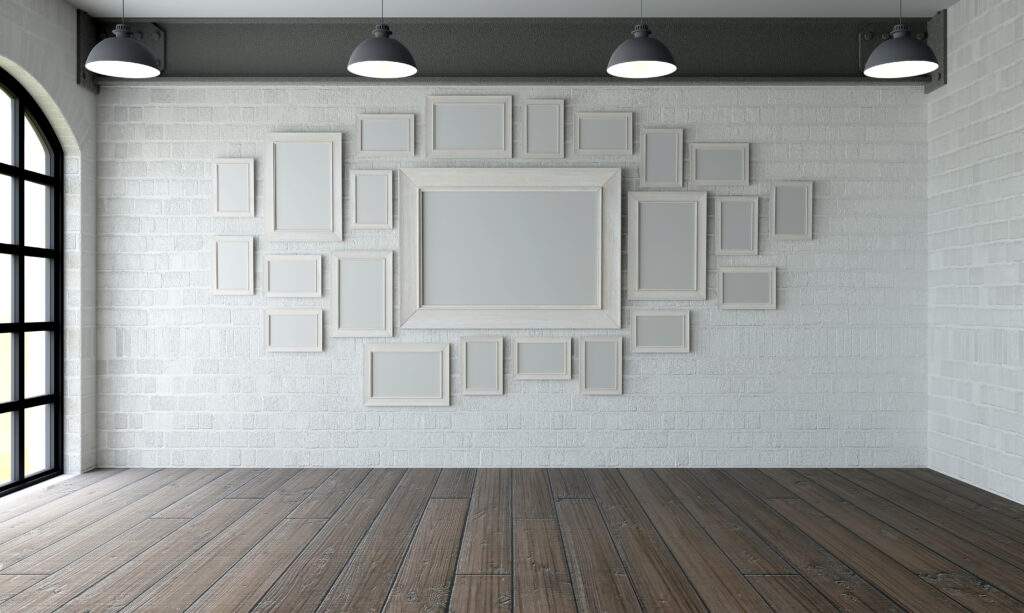
A house is just four walls and a roof, but it needs to become a home to reflect your unique style and display your character through your interior decoration and how you add the little bits and pieces that transform it from a mundane house to a warm home. Be it the distinct sofa or the type of lamps you have chosen, it reflects your creativity.
A bare wall is one such place you can transform and flaunt your selections stylishly. A gallery wall is the artistic display of art, pictures, or posters to make it attractive and work as a focal point.
But is it easy to create a gallery wall? Yes, it is, if you read this guide and follow the suit.
Creating a Stylish Gallery Wall
Before starting, you must understand that a gallery wall reflects your style, taste, and character. So, do not try to imitate ideas blindly. You need to add some twists to your creativity. If you are ready, start now.
Decide The Type of Gallery Wall
Gallery walls are of two types: one that reflects your family photos and create a nice collage of all your memories and family members. Second is a display of your favorite art, paintings, or posters. If you are not someone who takes lots of pictures or the idea of hanging your family photos doesn’t appeal, you can settle on the second choice.
Gather Art or Pictures
Based on your choice in the above step, the next step is to collect your favorite art pieces or photographs you want to hang on the wall. The one point you must remember is to be consistent in whatever you choose. For example, if you use family photos, ensure that all the frames display family pictures. A heterogeneous mix of posters, pictures, and art might look less attractive. It seems confusing, as if you couldn’t decide on what you want to see on your gallery wall.
Choose A Theme
The next important step is choosing a theme or the types of frames you want to use for your display. You must be mindful while choosing frames considering your wall colors, the room’s interior, color combination, and whether you want to go with the flow or create a contrasting effect.
There are some chic ideas that you can choose from:
- For a minimalist look, you can settle on one color, such as white, black, golden against a dark hue, navy blue, etc.
- Vintage look, you can settle on intricately molded, golden, or hardwood frames.
- For a more luxurious appeal, you can choose metallic colors, such as bronze, brass, silver, etc.
- If you want a funky look, go wild with colors. Choose a heterogenous color combination, or you can also settle on two colors, such as contrasting black and white, neutral grey and white, luxurious gold and white, bold black and red, etc.
Create a Pattern
Before you drill holes in the wall, stand back and look at it; the furniture placement, the room’s height, the width of the wall, and everything that might impact the placement. You must not clutter your wall and should not create holes without having a layout in mind. So, create a pattern.
Whether you want a rectangular pattern, a square one with similar sized frames, oval or circular gallery wall display with multiple oval-shaped frames, or want to create a freestyle, use masking tape and paper layouts of the frame and paste them on the wall. Take in the layout and make adjustments.
There are some general rules which you must follow while hanging gallery wall:
- Leave even space between the frames if the frames are of the same size.
- There should be a minimum of 3-6 inches of space between frames.
- Ensure that the largest and center frame is installed at the height of 57 inches from the ground. It is the ideal placement of the gallery wall art pieces.
- Leave more room between larger frames and place smaller frames closer.
- For irregular-sized frames, the above rules need not be followed. But huddling them close together will make your gallery wall look cluttered.
Gather Your Materials and Start
So, once you have chosen the frames, the pictures or artworks are ready, the layout is decided, and now is the time to implement your interior decoration idea and hang the frames. You need a hammer, a drill, nails, drywall mounts, and a pencil to finish it.
Be careful while using these materials if you’re a beginner. Instead, engage someone experienced to assist on the job.
Complete it With Lighting
Do you know how professional galleries attract you? The lighting and the effect they create make you turn your head. Do the same for your living room wall. Light scones are beautiful and enlighten your artwork perfectly. Install them to lighten frames at 30 degrees, and you have the perfect gallery wall you could ever desire.
Final Words
So, this is all about setting up a gallery wall. It’s easy, isn’t it? All you need to do is to follow these steps by adding a pinch of your creativity and style, and Tada! You can create a beautiful focal point that looks adorable. Just believe in your personalized interior design ideas and start now!
